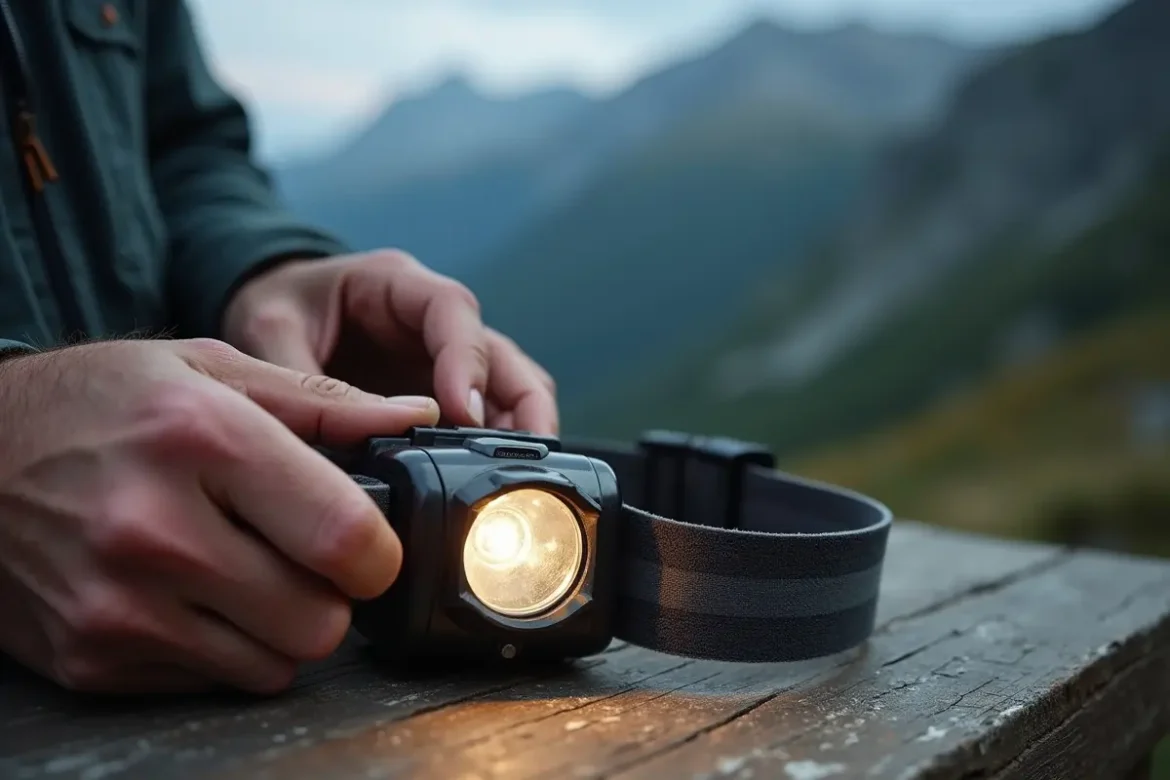
7 Signs Your Hiking Headlamp Needs an Upgrade
A headlamp that felt fine around camp can feel very different at midnight on a rocky descent. If you’ve started doubting your light, pay attention. These seven signs will help you separate fixable problems from reasons to replace it.
1. Your beam does not show you what you need to see
On uneven ground, you can see your boots or the far trail, but not both. Tilt the lamp down and you lose the next cairn; tilt it up and you lose your footing. A beam that’s too tight or too thin makes the next step harder to judge.
Some designs lean heavily one way. A tight spot throws far but leaves the edges dark, so roots and rocks appear late. A wide flood works well at the tent yet fades on open trail, hiding markers and turns. Other optics blend a brighter center with softer spill for close work. That mix can help you read the ground while catching blazes ahead.
Start with simple fixes. Wipe the lens with a soft dry cloth to remove sunscreen and grime. Try each mode on a familiar, low-risk path after dark to see what high, medium, and low cover. If your lamp uses replaceable cells, fit fresh ones of the specified type and test again. Check for dirt inside the housing or a fogged lens scattering light.
If the pattern still leaves you guessing, your beam shape and throw may not match your hiking. That doesn’t necessarily mean you need the brightest option available.
2. The controls fight you when it counts
You’re wearing gloves, wind is pushing rain sideways, and you need less light for a map check. You press the button and get strobe, then press again and get unwanted glare. Your partner looks away and you both lose night adaptation for a few minutes.
Good controls should take little thought. You should be able to find the switch with gloves on and return to your chosen setting easily. If changing modes takes two hands or a bare finger, the interface may be poorly suited to your trips, especially when you frequently switch between close footing and distant route finding.
Try a kitchen table test. Put on your hiking gloves and cycle through modes, checking whether you can switch off cleanly and reach low without unwanted glare. Check the manual for your model’s layout. Some lamps bury red or low behind extra presses; others put strobe where you expect medium. Practice helps, but only up to a point.
If practice doesn’t resolve it, take the frustration seriously. Being stuck in the wrong mode can tire your eyes and slow the group.
3. Your runtime and power plan no longer line up
You start with a full charge and the lamp fades before dawn. Or you carry spare cells but still worry about the second night. Uncertain runtime affects your pace and stops, and whether you use light when you should.
Rechargeable cells lose capacity with age and use through normal chemistry. Cold can reduce available runtime too, so a lamp that lasts through a summer evening may fade earlier on a frosty ridge. More frequent charging, earlier step downs, or a dimmer low mode can signal a problem, though they don’t establish the cause.
Map your use before blaming the lamp. Note your settings and how long you use them, then compare them with the manual’s runtime figures without treating those as guarantees. Test at home on a cool evening. Follow the maker’s contact-cleaning guidance, use the specified cell type, and check that charging finishes. When comparing replacement headlamps, consider runtime at your hiking setting, supported batteries, and charging method. Peak output alone won’t solve a power-plan mismatch.
If your needs exceed the lamp’s capacity, adjust your plan or gear. Short overnights near town may suit a USB-C top-up from a small bank. Longer or colder trips need longer regulated runtime or a dependable power plan with tested spares.
4. Water, drops, or wear have left their mark
Rain, stream crossings, dusty packs, and a hard drop can expose weak seals or damage. Signs may be subtle: flicker when the lamp moves, high mode cutting out, a loose hinge, or a battery door that needs extra pressure to close.
Imagine steady drizzle on a ridge after dark. You keep hiking toward a nearby junction, but the beam dims and steadies repeatedly. Tapping the housing brings it back. Intermittent light deserves attention, whatever the cause; you need to trust your lamp in wet weather within its stated limits.
Inspect carefully for cracked plastic, bent hinges, worn gaskets, and green buildup on contacts. Remove dried mud as the maker allows and dry fully before opening the battery area. For removable cells, watch for swelling, heat damage, or torn wrappers. Stop using a damaged cell and follow local damaged-battery disposal guidance rather than handling it casually, especially if hot or swollen. Use only the replacement type specified in the manual.
A worn headband, dirty contact, or tired rechargeable cell may be fixable, depending on the model. Structural damage is different. Tape and rubber bands won’t restore a seal; retire a lamp from serious use if its housing won’t close properly or water has entered.
5. It turns on by itself in your pack
At the trailhead after dark, you pull out the lamp and find it warm. It switched on inside your pack during the drive. Starting at half charge matters, especially on a route with few easy exits.
Pack activation can happen with protruding buttons and soft carry sacks. A book or pot presses the switch during travel, draining power unnoticed. A lamp buried under a puffy during a midday summit push can do the same.
Reduce the risk with careful packing. Use a hard pocket or small case that keeps pressure off the switch, and turn the head inward if the design allows. Remove or isolate cells during travel only if the maker approves. Some lamps have an electronic lock; others use a physical disconnect or twist action. Follow the manual rather than guessing at button sequences.
If activation continues after repacking, consider a design with a more reliable way to stay off in transit. You need that charge when darkness arrives.
6. It will not stay put or feel good for long
An hour in, the lamp slides down your forehead. Tightening the strap gives you a headache; loosening it lets the beam bounce. By mile ten, you’re adjusting it instead of watching the trail. Comfort matters on a long night.
A narrow strap may dig in under a beanie, while a heavy front housing tips forward on descents. Sweat can make a slick band slip. Poor balance strains the forehead and neck over hours. The lamp may be serviceable but poorly matched to your head shape, hair, hat, or pace.
Try adjustments first. Wash the band with mild soap and air dry it according to its care instructions, since oils reduce grip. Center any top strap and adjust tension until the lamp stays level when you nod. Test with your usual hat and hood on stairs or a familiar low-risk path. If pressure persists, try a rear battery position if your model supports it, or fit the included top strap.
If discomfort remains, it deserves attention. A lamp you dread wearing may stay in the tent, and a steady, pain-free fit matters as much as beam shape through a full night.
7. Your trips have changed and the lamp has not
A first lamp bought for camp chores and dog walks may still work perfectly. But pre-dawn starts, late finishes, and shoulder season routes ask more of it, with darkness lasting for hours.
A usable low mode helps around a busy tent pad, letting you sort gear without shining a bright beam at neighbors. With only bright white settings, small tasks can create glare. Test your map under the settings you use, since colored light can obscure some markings. Cold performance matters too: a lamp that uses little power in summer may fade faster near freezing, reducing your margin on alpine starts. Weight distribution also affects comfort over hundreds of miles. Every ounce may matter to an ultralight hiker, but comfort and steady output still count alongside weight.
Do a quick audit. Are you hiking more often after dark, leading others, or tackling rougher trails? Consider whether you now need longer low settings for camp and steady medium for travel. A working older lamp needn’t be replaced for fashion; keep it as a camp spare or loaner if it remains safe. For bigger nights, choose equipment with modes and power suited to the trip and tested beforehand.
A quick pre-trip check before you decide
You don’t need a lab to assess a lamp, just a repeatable routine that resembles trail use. Run it a night or two before leaving rather than waiting until the parking lot.
Charge fully or fit fresh cells, then run each mode for a few minutes, watching for flicker or early step down. Test the beam on a familiar, low-risk path with gloves on, and practice reaching low without looking, plus red if you use it. Gently move and tilt the housing to check for loose hinges or intermittent contacts. Inspect seals and doors for cracks, and bands for stretching. Use the manual to test the lock, then pack with the switch protected.
For hikes where darkness affects route finding, carry an independently powered backup, such as a small handheld or second headlamp with its own cells, stored apart. Keep spare cells separate in a dry case and test them too. Don’t push on with structural damage or a suspect cell. Fix repairable faults, follow appropriate disposal guidance for unsafe equipment, and replace gear that no longer meets your needs. Reliable light helps you read the ground and move with care.